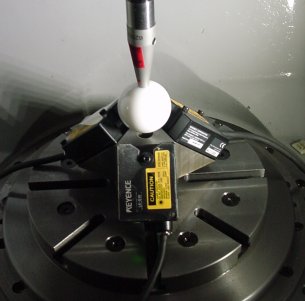
R-test device. Non-contact R-test
The R-test measures the three-dimensional displacement of the precision sphere, attached to the machine spindle, by three linear displacement sensors, mounted on the machine table. See our studies on its application to error calibration of five-axis machining centers at R-test and R-test (cont'd).
 
 
All the conventional R-test devices, including commercially available ones, use a contact-type linear displacement sensor with a flat-ended probe. When flat-ended probes are contacted with the sphere, the three-dimensional position of the sphere center can be calculated by a simple formula from measured displacements. On the other hand, particularly in dynamic measurement, the application of contact-type displacement sensors to the R-test has the following inherent issues:
  • The friction between probes and the sphere may influence the measurement.
  • The dynamics of a spring supporting probes may influence the measurement.
  • The safety of measurement, avoiding the crash caused by e.g. mis-programming, may be difficult to ensure.
To address these issues, we have developed a non-contact R-test device by using laser displacement sensors. We experimentally investigated the measurement uncertainty of four laser displacement sensors available in todayfs market with different measuring principle in measuring the geometry of a sphere, in order to select the laser displacement sensor most suitable for non-contact R-test. The measuring performance of the developed non-contact R-test device was investigated.(April, 2012)
 
 
>> Publications: JE27, CE49, CE48


our prototype non-contact R-test.
 

Figure 1: The non-contact R-test device we developed. Three laser displacement sensors are installed on the fixture, which is put on the machine table. Its relative displacement to the ceramics precision sphere, attached to the machine spindle, is measured.
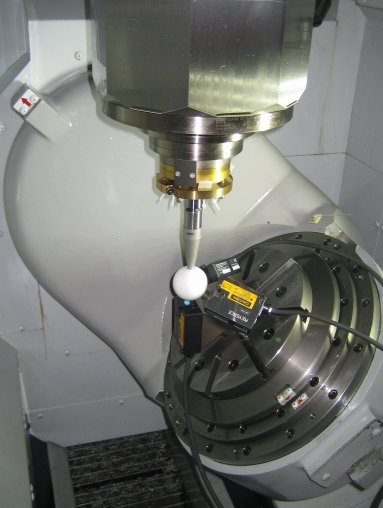


our prototype non-contact R-test.
 
Figure 2: Experiment by the developed non-contact R-test device.