|
|
|||||
| |||||
|
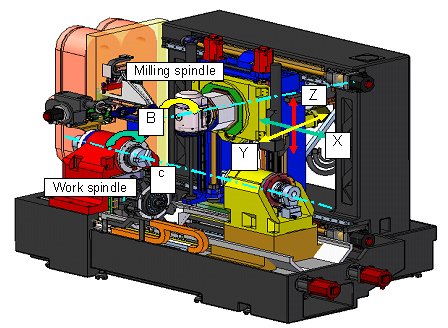
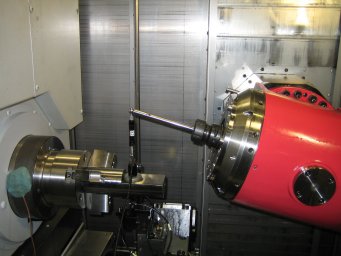
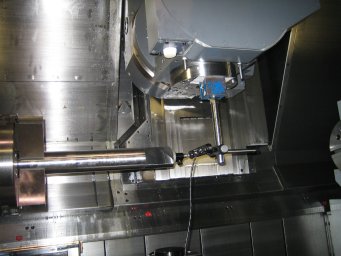
In order to proceed process integration more, an integrated machine tool has many linear and rotary axes. With its recent popularization, it is demanded by the market to have the motion accuracy as good as conventional 3-axis machining center. To improve its motion accuracy, it is crucial to establish a methodology to measure and evaluate its motion errors in an accurate, and efficient manner. In this project, we proposed a methodology to measure dynamic motion errors of a rotary axis of a universal spindle (the B axis in Fig.1) on integrated machine tools. Typically, the angular positioning error of a rotary axis of a universal spindle is measured by using an autocollimator. In such a case, the target mirror must be placed at the rotation center, which may be difficult in the case of a universal spindle. In this project, we used the DBB (double ball bar) device to directly evaluate the dynamic error at the tool tip. (March, 2006) >> Publications: JJ11, CJ34 
Figure 1: A typical configuration of an integrated machine tool (an example: NT4200 by Mori Seiki Co., Ltd.). In addition to a workpiece spindle for turning operations, it has a milling spindle for milling operations. The axis to tilt the milling spindle is referred to as the B axis.   Figure 2: The dynamic motion error of a rotary axis of the universal spindle was measured by using the DBB device on different types of integrated machine tools. | |||||
