 |

|
 |
A Machining Test for Error Diagnosis on 5-axis Machines
The only machining test to evaluate the machining accuracy of a 5-axis machine tool widely accepted in today's machine tool industry is the machining test of cone frustum, as is described in the NAS (National Aerospace Standard) 979. In the machining of a cone frustum, various error factors of the machine tool affect the geometric accuracy of the machined workpiece. As a result, for example, when the geometric error of the machined is not small enough, it is quite difficult for machine tool builders to diagnose why this error occurs, and how it can be fixed. |
|
The tilt errors of the center axis of rotary axes (e.g. the squareness between a rotary axis and the X or Y axis) or its traverse errors are collectively called kinematic errors. Some of kinematic errors may impose exactly the same effect on the geometric error of the machined cone frustum. Some of kinematic errors may impose no effect at all. Therefore, it is known that it is not possible to separately identify all the kinematic errors by the single cone frustum machining test.
In this project, we proposed a new machining test for 5-axis machine tools, with a main focus on the identification of all the kinematic errors (March, 2008).
>> Publications:
JE14,
CJ48


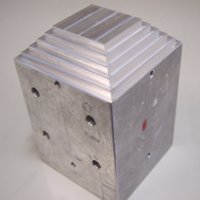
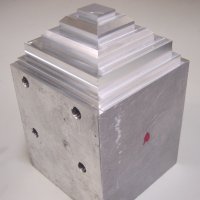
Figure 1: Test pieces machined by the proposed machining test. Each step of the test pieces is machined by variously setting the angular position of rotary axes. The geometric errors of the machined test pieces, such as the width of facing side surfaces, the parallelity of facing side surfaces, the height of bottom surfaces, the flatness of bottom surfaces, are measured by using a coordinate measuring machine (CMM) or a touch probe. The kinematic errors of the machine tool can be identified from them.

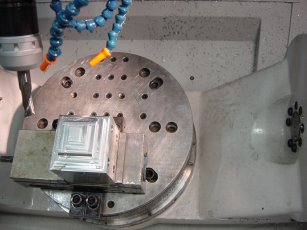
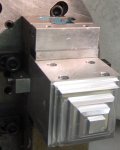
Figure 2: Machining of a commercial 5-axis machining center. In this photo, the A axis (the tilt axis of the table) is positioned at 45 degrees, and the side cutting by a flat end mill is performed.
|
