|
|
|||||
| |||||
|
A contact-type, touch-triggered probe is often used for such on-machine measurement. By employing a laser displacement sensor, continuous measurement can be done, which significantly improves the measurement efficiency. For pre-machining measurement of part blank on five-axis machine tools, it is more important to measure the three-dimensional position and orientation, or three-dimensional geometry, of part blank. For such a measurement, it is significantly more efficient to continuously perform the measurement with tilting a sensor (or a workpiece) by driving the machine tool's rotary axes (see Fig.1). Clearly, major contributors to measurement uncertainties of on-machine measurement schemes are error motions of the machine tool itself. In this project, a simulator is developed to evaluate the influence of the machine's geometric errors of rotary axes on the measurement uncertainty. Such a simulator is essential to evaluate the measurement uncertainty of the present on-machine laser measurement system. This project is partly supported by Mori Seiki Co., Ltd. The on-machine laser measurement system, "S-Quad," is commercially available from Mori Seiki. (April, 2013) >> Publications: JE35, JE33, CE53, CJ70, CJ66 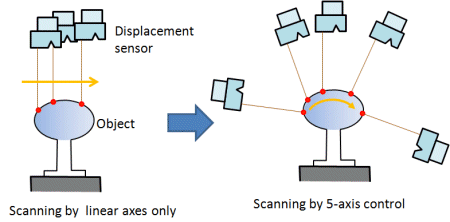
Figure 1: Five-axis on-line measurement by using a laser displacement sensor significantly improves measurement efficiency. 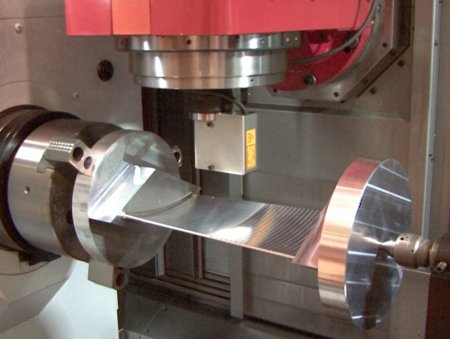
Figure 2: On-machine measurement of a turbine blade by the laser measurement system (photo from Mori Seiki). 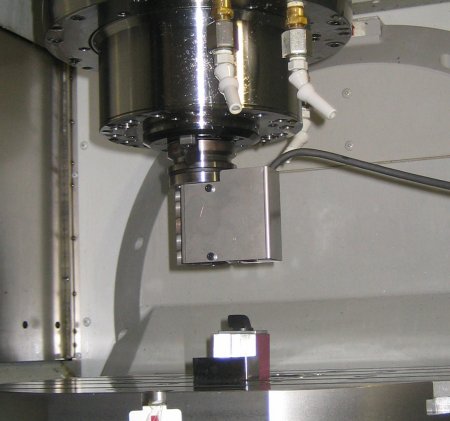
Figure 3: Measurement test of a flat surface. 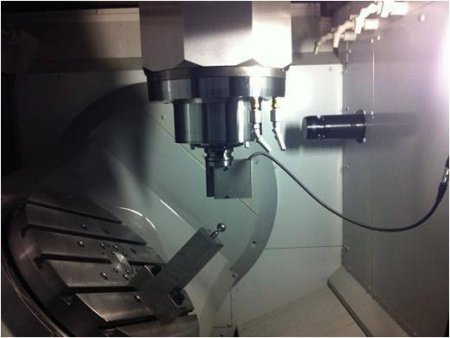
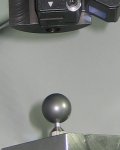
Figure 4: Measurement test of a precision sphere. By measuring the sphere of the pre-calibrated geometry, the on-machine measurement system's uncertainty was investigated. 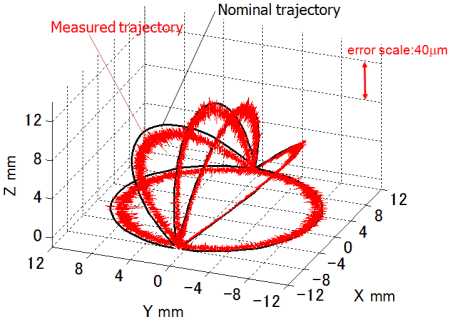
Figure 5: Measured trajectories of the precision sphere by the laser measurement system. The laser beam direction is controlled normal to the spherical surface. It was shown that the machine's geometric errors are dominant contributors to the measurement error. Their influence can be predicted by using the proposed kinematic simulator. | |||||
