|
|
|||||
| |||||
|
When the geometric accuracy of the workpiece is known in priori, its on-the-machine measurement will give the motion accuracy of the machine tool itself. This is the basic idea of this project. This project presented probing sequences to measure motion errors of rotary axes on a five-axis machining center. The identification of location errors of a rotary axis, e.g. its center offset or the squareness to a linear axis, was first studied. We then proposed an algorithm to identify the "error map" of a rotary axis, which represents the profile of linear and angular errors of the axis centerline varied with its rotation. (March, 2010) >> Publications: JE29, CJ71, JE28, JE24, CE45, CJ51 
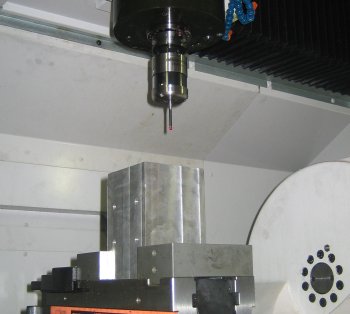
Figure 1: A workpiece is placed on a rotary table of a 5-axis machining center. Its position and orientation are probed at various angular positions of rotary axes. 
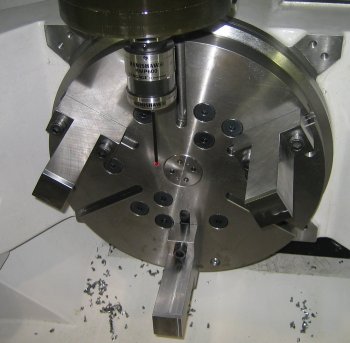
Figure 2: In this experiment, three workpieces are placed on the rotary table. At various angular positions of rotary axes, their positions and orientations are probed. We used multiple workpieces to measure the orientation of the table with higher sensitivity. The construction of "error map" of rotary axes is the objective of the proposed probing sequence. | |||||
