|
|
||

|
||
|
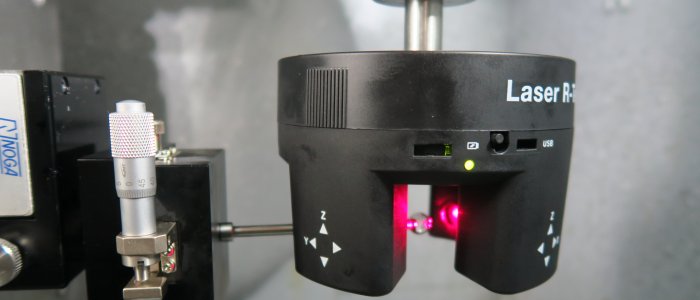
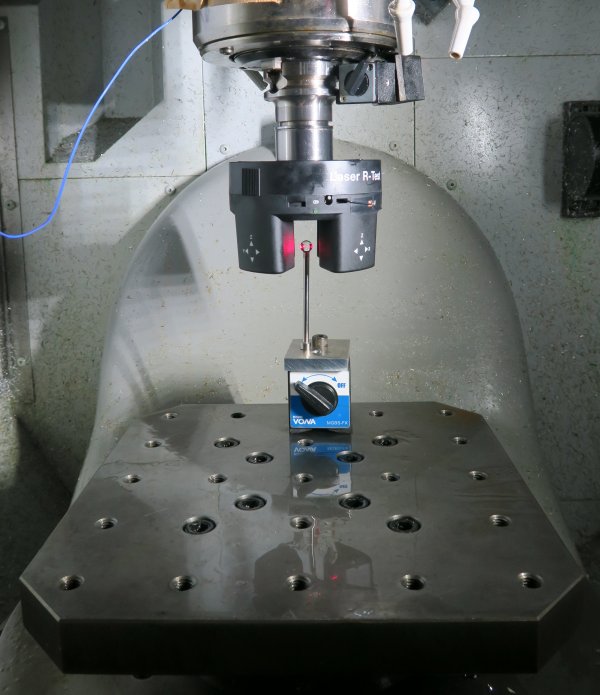
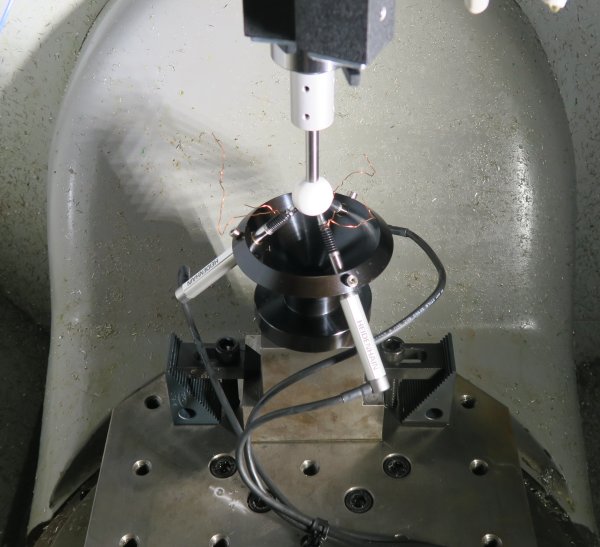
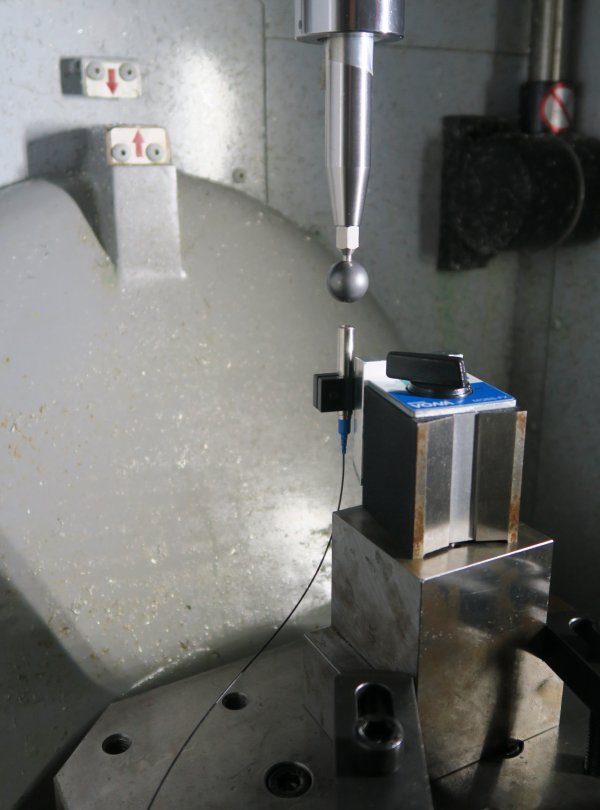
Laser R-Test To measure the motion accuracy of rotary axes in a five-axis machine tool, we have studied the measuring instrument called the R-Test. As a rotary axis rotates, two linear axes move along a circular path, and the R-Test measures the 3D displacement of the rotary axis with respect to the linear axes. We have developed a software to analyze the R-Test results, which is commercially available from Fukuda Corp. ("FKD System"). Typically, the R-Test uses a set of three tactile linear displacement sensors (see Fig. 2). Prof. Wen-Yuh Jywe and his group in National Taiwan University (National Formosa University in Taiwan during the collaboration project) have developed the Laser R-Test. It measures a sphere's 3D displacement in a non-contact manner, by using the refraction of the laser beam through a glass sphere. It is commercially available. In this collaboration project with Prof. Wen-Yuh Jywe's group, we have studied the measurement performance of the Laser R-Test. A tactile linear displacement sensor typically has a spring inside to push its probe to a target. Its dynamics may limit the measurement bandwidth. Furthermore, the friction with the contact of the probe surface with a target can potentially influence the measurement accuracy. Therefore, non-contact Laser R-Test can potentially exhibit better measurement accuracy than tactile R-Tests particularly in dynamic tests. Their actual measurement performance was experimentally compared in the tests described in ISO 10791-6:2014.
This project was under the collaboration with Prof. Wen-Yuh Jywe's group in National Taiwan University (National Formosa University during the collaboration project) >> Publications: JE23, CJ23, CJ14, CJ7 |
||
|
|
||


